
Last updated October 31, 2026
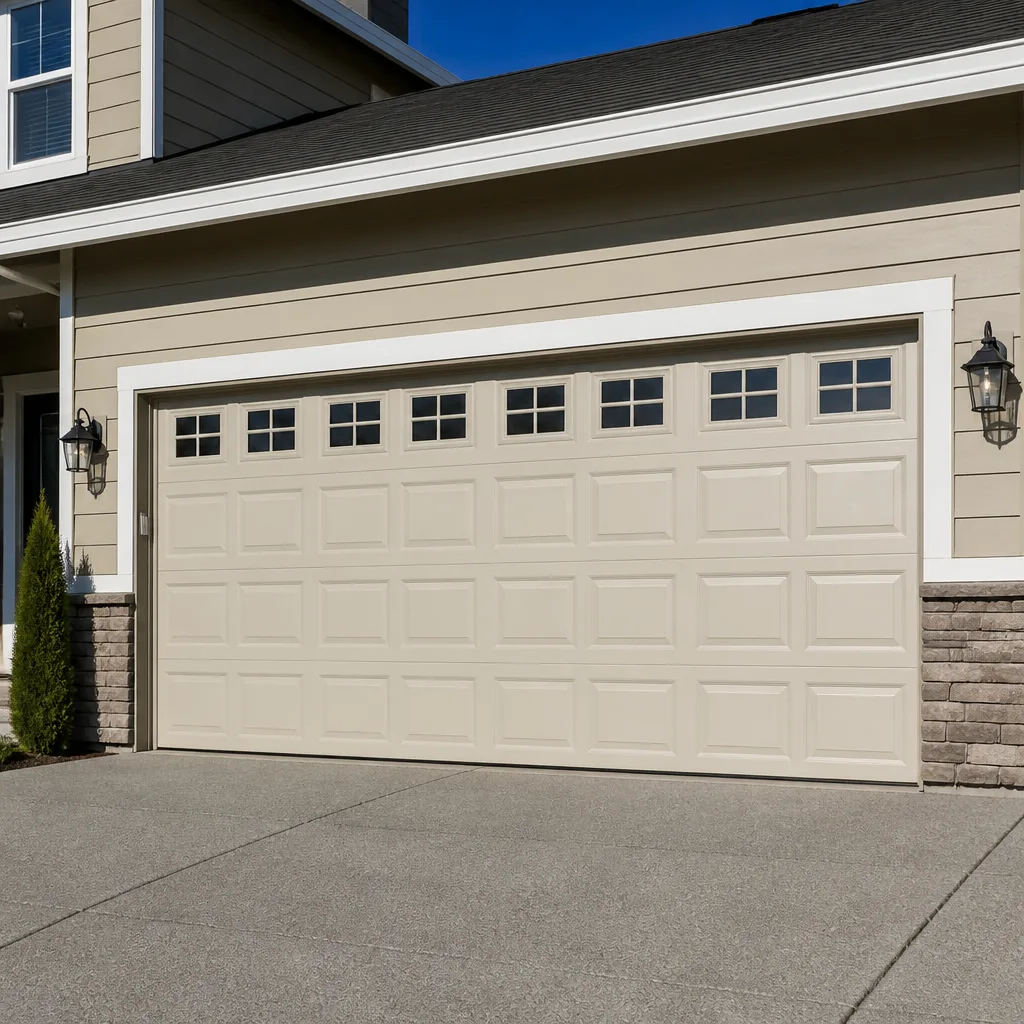 Raised-panel steel
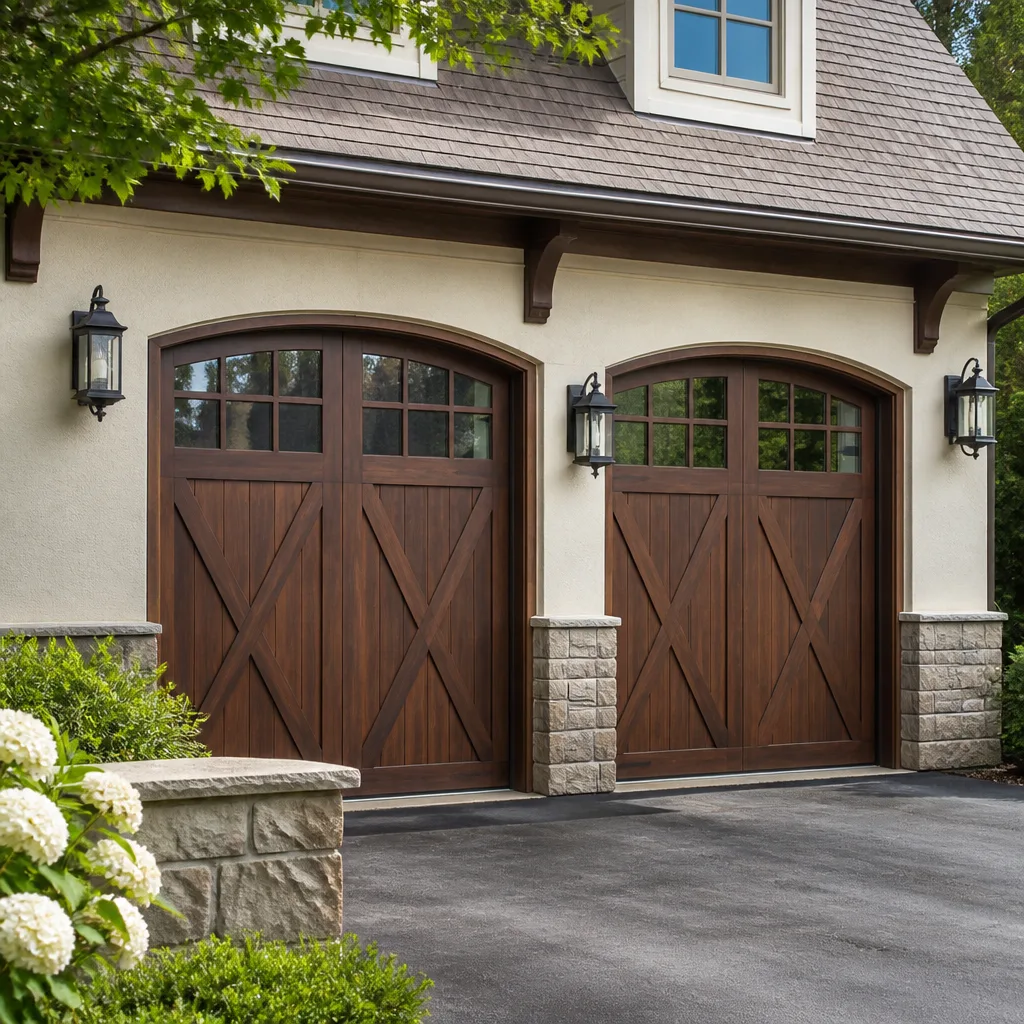 Carriage house
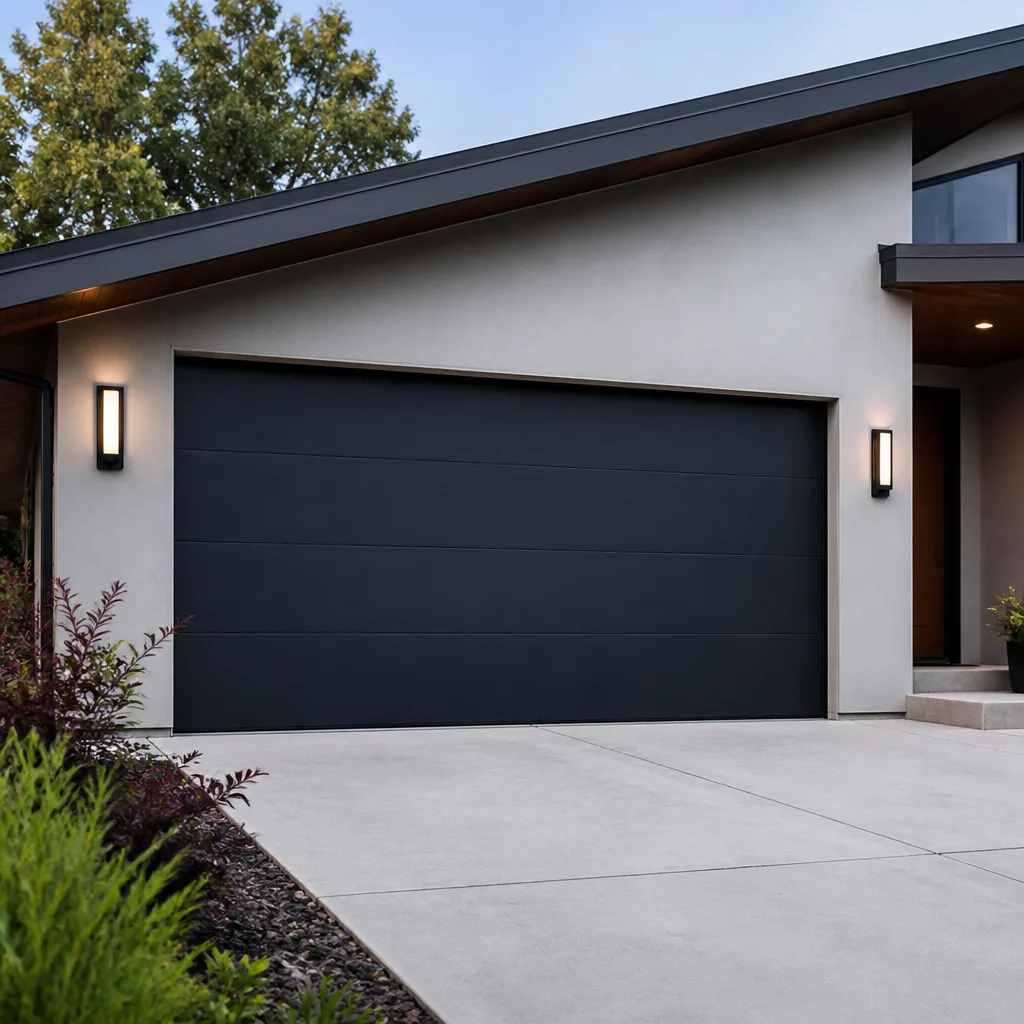 Modern flush
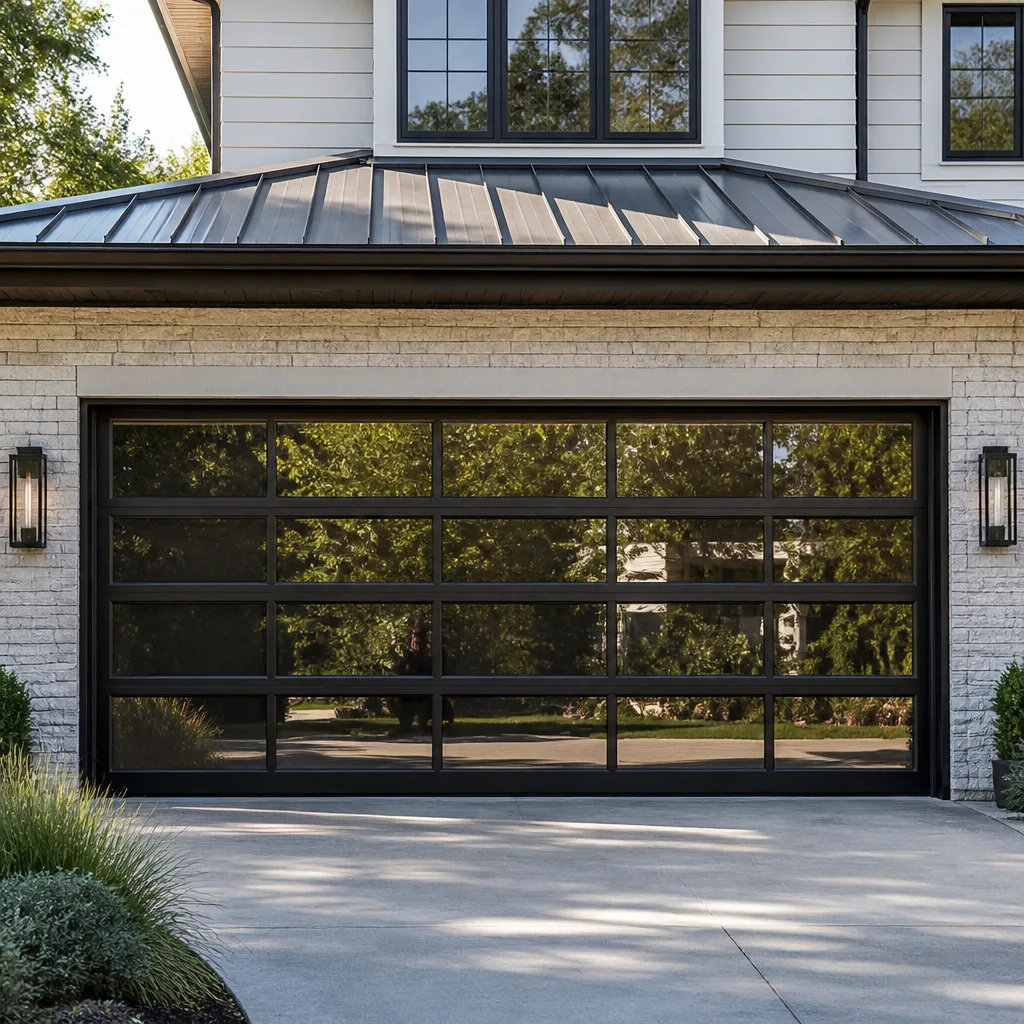 Full-view glass
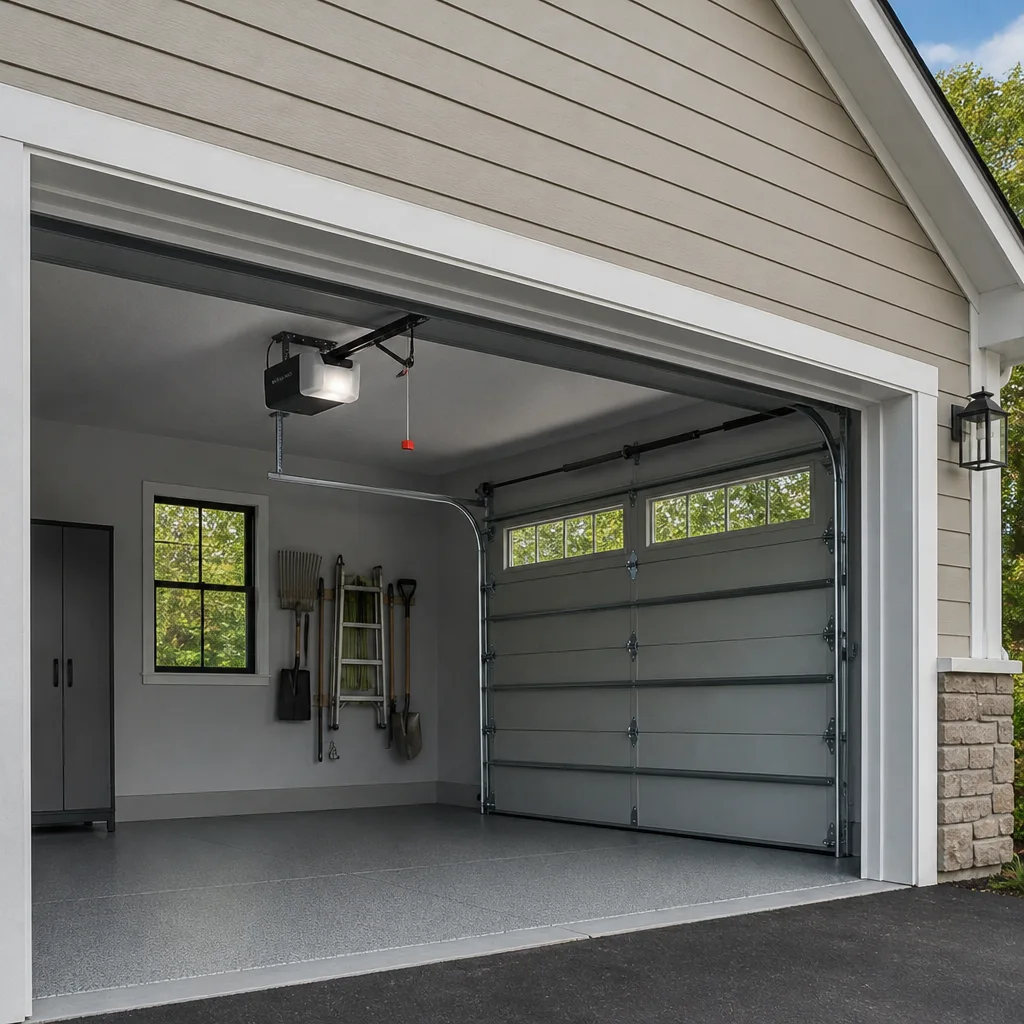 LiftMaster openers
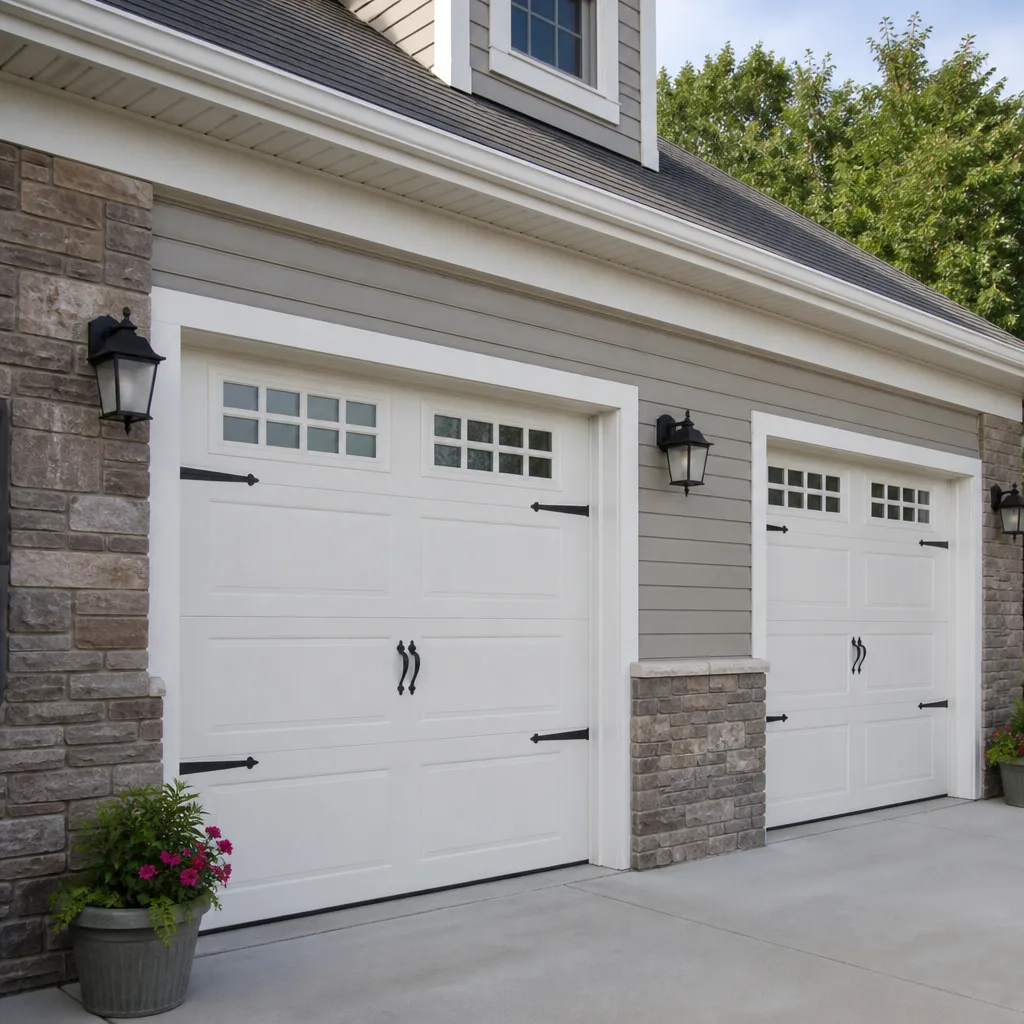 Chamberlain openers
Full 25-point door and opener safety check with every visit - springs, cables, rollers, tracks, and your LiftMaster or Chamberlain opener included
You get a price before we start. It does not change when the truck arrives.
Get your free estimateGarage Door Repair Troubleshooting: Common Problems and How to Fix Them
The number-one call we get at Gold Star Garage Door Service isn’t “my door is broken.” It’s “my door reverses before it closes.” That single symptom has at least six distinct causes, and the fix for one of them can make another one worse if you try it first. This guide walks you through how to actually diagnose what’s wrong with your garage door, not just match a symptom to a guess. For Garage Door Warning Signs: A West Hollywood Homeowner’s Reference Guide, see our dedicated resource. If you live in West Hollywood, where garage doors open and close dozens of times a week for street parking access, you’ll face these problems sooner than most homeowners.
Styles & brands we work with
Quick Answer
Garage door troubleshooting starts with identifying which component is actually failing: the opener, the springs, the tracks, the sensors, the cables, or the door itself. Most common symptoms, like a door that reverses or won’t close, have multiple possible causes that require a step-by-step process of elimination before you touch anything. For West Hollywood homeowners, understanding this diagnostic sequence is the difference between a $20 sensor alignment and a $400 needless spring replacement.
Table of Contents
- The Three Sounds Your Garage Door Makes (and What Each One Means)
- Door Won’t Close: The Branching Diagnostic Tree
- Door Reverses Before It Closes: Six Causes, One Symptom
- How to Tell a Sensor Issue from a Limit Switch Issue from a Track Obstruction
- Why Your Opener Brand Changes the Diagnosis: LiftMaster vs. Chamberlain Error Codes
- What’s Safe to Fix Yourself (and What Isn’t)
- West Hollywood-Specific Garage Door Issues
- Common Mistakes to Avoid
- When to Call a Professional
- Frequently Asked Questions
- The Bottom Line
The Three Sounds Your Garage Door Makes (and What Each One Means)
Before you touch anything, listen. Your garage door communicates through sound, and three specific noises tell you more than any visual inspection will. In our experience across West Hollywood homes, from Doheny Drive to the hills above Sunset, these sounds have been remarkably consistent predictors of the underlying failure.
The grind: A grinding or metal-on-metal rasp means your rollers are done. Rollers wear out every 5 to 8 years, faster in coastal air. West Hollywood’s proximity to the marine layer means salt-tinged moisture accelerates roller bearing decay. When nylon rollers wear down to the metal core, they grind against the track and scratch it. The fix is straightforward: replace the rollers before the tracks get scored. Once tracks are grooved, you’re replacing the track too, which triples the cost.
The pop or bang: A loud pop, followed by a door that won’t move, is almost always a torsion spring snapping. It sounds like a gunshot. This is the most common catastrophic garage door failure in West Hollywood, and it happens in a specific pattern: doors that face west get more afternoon thermal expansion, which stresses springs over time. A snapped spring is not a DIY repair. The tension in a torsion spring is enough to cause serious injury, and you’ll need a technician with the right winding bars and training. We cover how to respond to this in the section on what’s safe to fix yourself.
The jerky stutter: If the door moves in fits and starts, stopping and starting every few inches, that’s your opener’s drive system slipping, or a track that’s out of alignment and pinching the rollers. On chain-drive openers, including most Craftsman and LiftMaster models, the chain stretches over time and slips on the sprocket. On belt-drive systems, a tensioner can loosen. The stutter is the sound of the opener fighting something; don’t ignore it, because the same symptom also precedes a full track derailment.
Here’s a quick reference for what you’re hearing:
- Grind: Worn rollers, likely scratched tracks. Replace rollers now, tracks later if you wait.
- Pop or bang: Snapped torsion spring. Call a technician; do not attempt repair.
- Jerky stutter: Chain or belt tension issue, or track misalignment.
- High-pitched squeal: Dry hinges or rollers. Lubricate with silicone spray, not WD-40.
- Hum but no movement: Opener motor is running but the drive coupler is broken, or the springs have failed and the opener can’t lift the weight.
We’ve been called to West Hollywood homes where the homeowner heard the hum, assumed the opener was dead, and bought a new one. Then the replacement opener hummed too, because the actual problem was a snapped spring the opener simply couldn’t overcome. That’s a $600 mistake from misdiagnosing a $250 spring repair.
Door Won’t Close: The Branching Diagnostic Tree
Most troubleshooting guides give you a flat list of “if this, try that.” That approach fails because a door that won’t close could have a dead opener, blocked sensors, a misaligned track, a spring issue, or a limit switch problem. The correct approach is a branching diagnostic tree that eliminates causes one by one, starting with the easiest checks and moving toward the complex ones.
Here’s the sequence we use when a West Hollywood homeowner calls us with “door won’t close.” Follow it in order:
- Check the obvious obstruction first. Look at the floor where the door meets the ground. A hose, a child’s toy, a broom, or even accumulated leaves from a jacaranda tree can trigger the safety reversal. West Hollywood’s mature street trees drop significant debris, and we’ve seen more than one “broken” door that just had a branch wedged under it.
- Look at the safety sensors. Each sensor has a small LED light. Both should be lit, typically green on one side and red or yellow on the other. If one is dark or blinking, that’s the problem: a misaligned beam or a damaged wire.
- Check the door balance. Pull the emergency release cord and try to lift the door manually. It should move smoothly and stay in place at waist height. If it slams down or is extremely heavy, your springs are failing or broken. Stop here and call a technician; the door weighs 150 to 250 pounds without working springs.
- Inspect the tracks for gaps or bends. Run your eye along the vertical and horizontal track. A visible gap between the roller and the track, especially where the track curves, means misalignment. Don’t loosen track bolts yourself; this is where the door can come off the track entirely.
- Test the limit switch. If the door closes partway then reverses with no obstruction and clear sensors, the down-limit is set too far, meaning the door travels too far before the opener thinks it’s “closed.” This is adjusted with a screw or dial on the opener unit, but it requires care; set too aggressively and the door slams into the ground and bends the bottom panel.
This tree, followed in order, resolves about 85% of “door won’t close” calls in the first two steps. The remaining 15% are spring failures, broken cables, or opener logic board issues that require a technician. The key insight: don’t jump to the springs. Most door-won’t-close problems are sensor-related, not spring-related.
Door Reverses Before It Closes: Six Causes, One Symptom
“The door starts to close, gets two feet down, then goes back up.” This is the number-one symptom in garage door repair troubleshooting, and the reason it’s so confusing is that six different problems produce it. Here they are, in order of how often we encounter them in West Hollywood.
1. Misaligned safety sensors. The sensors at the bottom of the track, one on each side, project an invisible beam. If anything knocks them even a few degrees out of alignment, that beam breaks and the opener interprets it as “something is in the way.” This happens constantly in West Hollywood because garage spaces are tight, and people knock into sensors with bikes, recycling bins, and cars. The fix is gentle: loosen the wing nut on the sensor bracket and re-aim it at the opposite sensor until both LEDs are solid.
2. Sunlight interference. This one is specific to southern and western exposures. West Hollywood garages that face west get direct afternoon sun hitting the safety sensor. The sun’s infrared overwhelms the sensor’s beam. The temporary fix is to shade the sensor with a cardboard tube or toilet paper roll around it. The permanent fix is to relocate the sensor or reverse the sending and receiving units. We see this every week in homes along the Sunset Strip corridor.
3. Down-limit set too far. The opener’s “down limit” tells it where the floor is. If someone adjusted it too far down, the door hits the ground, meets resistance, and reverses. The adjustment screw is on the opener body and takes about 15 seconds to correct.
4. Track obstruction or misalignment. If the door reverses at the same point every time, look at that exact spot on the track. A bent section or a roller that’s binding will trigger the same safety reversal. You may see a shiny wear mark where the roller is grinding.
5. Garage door logic board failure. On newer openers, especially LiftMaster and Genie models with smart features, a logic board that’s going bad can randomly trigger reversal. This is a diagnosis of exclusion: if everything else checks out and the door still reverses, the board is likely the culprit. Boards are replaceable without replacing the entire opener, which is exactly the kind of repair-first approach we recommend at Gold Star Garage Door Service home.
6. Worn or broken extension springs. If you have an older door with side-mounted extension springs (the long springs that stretch along the horizontal track), one may have broken while the other still works. The opener feels the imbalance and reverses. Look for a dangling spring or a gap in the spring coil.
The important thing: symptom number one and symptom number six look identical from the driver’s seat. Only the diagnostic sequence separates them.
How to Tell a Sensor Issue from a Limit Switch Issue from a Track Obstruction
These three problems produce the same symptom, but each has a tell. Learn the tells and you’ll diagnose the right part on the first try.
Sensor issue: The door reverses immediately, usually within the first foot of travel, sometimes before it even leaves the fully open position. The sensor lights will be blinking or dark. This is the easiest to confirm: the sensors themselves are showing you they’re the problem.
Limit switch issue: The door travels almost all the way down, touches the ground, then immediately reverses. The sensor lights stay solid the whole time. The tell is that the door makes contact with the floor before reversing. This is both the simplest fix in this category and the most dangerous to get wrong, because setting the limit too far past the floor can bend the bottom panel or strain the opener.
Track obstruction: The door reverses at roughly the same point every time, and that point is neither at the very top nor at the very bottom. It’ll be halfway down, or three-quarters down; wherever the obstruction is. You’ll also typically hear a momentary strain or grind right at that point. Look at the track at exactly the height where the door stops. The tell is the consistency: same spot, every single time.
A quick way to distinguish sensor from the other two: hold the wall button down continuously while the door is closing. If the door closes fully and stays closed when you hold the button, the sensors are bypassed, which points to a sensor issue. If it still reverses even while you’re holding the button, the problem is mechanical or limit-related. Note: this is a temporary diagnostic step, not a permanent fix. Don’t leave your sensors bypassed.
Why Your Opener Brand Changes the Diagnosis: LiftMaster vs. Chamberlain Error Codes
LiftMaster and Chamberlain are both made by the same parent company, Chamberlain Group, and they share a lot of internal hardware. But their error codes do not mean the same thing, and treating them as interchangeable is a common mistake that wastes time and money.
LiftMaster units, which are typically professionally installed and found in many newer West Hollywood homes and condo complexes, use a diagnostic LED system on the opener itself. The LED blinks a specific number of times, and that number maps to a specific fault. For example, on a LiftMaster with a logic board from the last decade, five blinks often indicates a motor overheating or a thermal protection circuit tripping, while one blink typically means a sensor wiring issue. LiftMaster units also have a learn button that can be used to clear error states.
Chamberlain openers, which are the more common big-box retail brand, use a different LED sequence and a different troubleshooting logic. On Chamberlain units, a blinking light on the wall control panel often means something different than the same blinking light on the motor head. Chamberlain openers also have a different sensitivity to photo-eye issues; in our experience, Chamberlain units are more likely to throw a sensor error for borderline alignment that a LiftMaster would tolerate.
Craftsman openers, which were made by Chamberlain Group for decades, use yet another code system on some models, and the Craftsman brand has been through multiple manufacturers, so a 2005 Craftsman and a 2020 Craftsman are entirely different machines internally. Wayne Dalton and Raynor doors are more about the door hardware than the opener, but the opener’s compatibility with those door types matters for force settings.
The practical takeaway: don’t Google “garage door opener error code” and apply the first result. Search for your specific brand and model number. A LiftMaster error code 1-1 and a Chamberlain error code 1-1 mean different things. If you’re not sure what you’re looking at, call someone who works on all of them. That brand-fluency is exactly why we train our technicians across eight brands; when we arrive at a Garage Door Opener Repair in West Hollywood job, we already know what the error code table for that unit looks like.
What’s Safe to Fix Yourself (and What Isn’t)
There’s an honest line between homeowner-friendly garage door troubleshooting and work that belongs to a trained technician. Crossing that line is how people get seriously hurt.
Safe to do yourself:
- Sensor realignment and cleaning. The sensors are low-voltage, easy to adjust, and the most common fix in all of garage door troubleshooting. Wipe the lenses, re-aim them, check the small LED indicators.
- Lubrication. A silicone-based spray on rollers, hinges, and the torsion spring once or twice a year. This is routine maintenance, not repair, but it prevents many problems.
- Track inspection. You can and should visually inspect your tracks. Look for gaps, bends, and debris. Just don’t unbolt them.
- Battery replacement. Remote controls, keypads, and the backup battery inside newer openers are all straightforward.
- Emergency release test. Pull the red cord to disengage the opener, then manually open and close the door. If it doesn’t move smoothly, that information is gold for your technician.
Not safe to do yourself, no exceptions:
- Torsion spring repair or replacement. The spring holds 150 to 250 pounds of tension. If it releases while your hands are near it, the energy is enough to break bones or worse. This is the single most dangerous component in your home. A trained technician uses specific winding bars and a precise procedure. Never attempt this with improvised tools like screwdrivers.
- Cable repair. The cables run alongside the door and attach to the bottom brackets. They’re under the same tension as the springs. A frayed cable can snap across the room.
- Track unbolting or replacement. The track is what keeps a 200-pound door from falling on you. Loosening track bolts without properly bracing the door is how doors come off their frames and crush whatever is underneath.
- Opener logic board soldering or wiring. The board itself is low voltage, but the opener is wired to line voltage. You don’t open the casing without unplugging first, and even then the capacitors can hold a charge.
We’re deliberate about this distinction because we’ve had to follow behind DIY attempts that turned a $150 sensor fix into a $1,200 door replacement. The line is simple: if it involves spring tension, cable tension, structural track work, or opening the opener casing, call a professional. For everything from diagnostics to full replacements, Garage Door Repair in West Hollywood is what we do every day.
West Hollywood-Specific Garage Door Issues
West Hollywood isn’t just a market for us; it’s where the patterns are most predictable, because the housing stock and geography are so consistent. Here’s what we’ve learned from years of working on garage doors in West Hollywood.
Tight garage geometry means more sensor knocks. Many West Hollywood homes were built in the 1920s through 1950s, when cars were smaller and garages were narrower. Today’s SUVs barely fit, which means every pull-in and back-out is an exercise in precision. The result: sensors get hit more often, tracks get grazed, and bottom seals get torn by people backing in too far. If your garage is tight, check your sensors weekly.
Coastal air means more roller and hinge wear. We’re close enough to the Pacific that the marine layer reaches West Hollywood on most summer mornings. That salt-tinged moisture accelerates corrosion on metal components. Cheap steel rollers that would last seven years in the Valley typically last four to five here. The solution isn’t constant lubrication; it’s upgrading to nylon-coated rollers, which resist the coastal air far better.
West-facing garage doors get the afternoon sun problem. The sunlight interference issue we described earlier is heavily concentrated in West Hollywood because of the street grid and the way homes are oriented. If your garage door faces west and your door reverses in the late afternoon, sunlight hitting the sensor is the likely culprit before anything mechanical.
Older housing stock means older openers. A significant portion of West Hollywood’s single-family homes still have their original openers from the 1990s or early 2000s. Those units are on borrowed time, but they’re also simple machines with widely available parts. We repair them rather than pushing replacement, because a 2004 LiftMaster with a good motor and a fresh gear kit can run another decade. If a repair is the right call, that’s the call we make. If the opener is genuinely dead, Garage Door Installation in West Hollywood covers the full replacement process, brand-neutrally.
Common Mistakes to Avoid
- Replacing the opener when the springs are broken. The opener is not designed to lift the door’s full weight. If the springs are dead and the door won’t move, a new opener will burn out the same way. Diagnose the springs first, which is cheaper than an unnecessary opener.
- Using WD-40 on everything. WD-40 is a solvent and light lubricant, not a garage door lubricant. It dries out and leaves a sticky residue that attracts dust. Use silicone spray on rollers and hinges, and a specific garage door grease on the torsion spring.
- Adjusting the limit switch without checking the sensors first. The limit switch adjustment can mask a sensor problem, and if you run the door past the floor, you’ll bend the bottom panel. Sensors first, always.
- Ignoring a jerky door. That stutter isn’t a quirk; it’s a warning. Letting a track misalignment go for months is how you end up with a door off the track and a garage you can’t close at all.
- Grabbing the wrong brand’s error code table. We covered this above, but it bears repeating: a LiftMaster code is not a Chamberlain code is not a Genie code. Look up your specific model.
- Leaving the emergency release pulled and then trying to use the opener. If the door is disconnected from the opener and you hit the button, the opener runs the carriage up and down without the door attached. Reconnect it properly before using the opener again.
- Tightening track bolts without knowing which direction the track needs to move. Track adjustment is direction-specific and needs to be done in the right sequence. Improvised track fixes cause more derailments than they prevent.
When to Call a Professional
Call a technician when the door makes a loud pop and won’t move, when the door is off the track, when the springs look stretched or broken, when you see frayed cables, or when you’ve run through the diagnostic tree and the problem persists. Those are the scenarios where continued DIY effort risks injury or makes the problem more expensive. Gold Star Garage Door Service offers our Garage Door Repair services with free estimates in West Hollywood. Call (866) 810-8325, and we’ll diagnose the actual cause before quoting a fix.
Frequently Asked Questions
Garage door repair in West Hollywood typically costs between $120 and $400 for common fixes like sensor realignment, roller replacement, or limit switch adjustment. Spring replacement, which is the most frequent major repair, runs $220 to $350 for a standard torsion spring pair. You’ll know the exact price before any work starts; we quote every repair before touching the door.
Yes, most garage door repairs are completed in a single visit, and we schedule same-day service for West Hollywood calls whenever possible. A sensor alignment takes 20 minutes; a spring replacement takes about an hour. Call (866) 810-8325 to check today’s availability.
If your garage door reverses only in the afternoon and your door faces west, the sun is almost certainly hitting the safety sensor and overwhelming its infrared beam. Shade the sensor with a small tube or box as a temporary fix, then re-aim or relocate the sensor for a permanent solution.
No, the logic board or control board can be replaced independently on most openers, including LiftMaster, Chamberlain, Genie, and Craftsman models. Board replacement typically costs a fraction of a new opener, and we repair before recommending replacement whenever the math makes sense. This is a standard part of the Garage Door Opener Repair in West Hollywood service.
No, the price we quote before work starts is the price you pay. If we find additional problems during the repair, we’ll stop, explain what we found, and get your approval before doing anything that adds to the estimate. There are no surprise line items on our invoices.
Yes, our technicians carry the most common replacement parts, including rollers, hinges, sensors, springs, cables, and opener gears, so most West Hollywood repairs are completed on the first visit. For less common parts, we can usually source them the same day or next day. Call (866) 810-8325 for a specific part availability question.
The Bottom Line
Garage door troubleshooting isn’t about matching symptoms to fixes. It’s about working through a diagnostic sequence that eliminates causes in the right order. Start with the easy checks: obstructions, sensors, balance, tracks. Listen to the sounds your door makes. Know which error code system your opener uses, and don’t cross-reference brands. Respect the line between what’s safe to do yourself and what requires a trained technician, especially anything involving spring or cable tension. And when the diagnosis is uncertain or the repair is beyond the DIY line, call a professional who repairs first and replaces only when it’s justified. For help choosing one, read How to Hire a Garage Door Contractor in West Hollywood: A Step-by-Step Guide. That’s the Gold Star standard. It’s what we’d want for our own garage doors in West Hollywood, and it’s what we deliver on every job.
Written by the team at Gold Star Garage Door Service, serving West Hollywood since 2018. Explore more guides & resources on our blog.
See the difference
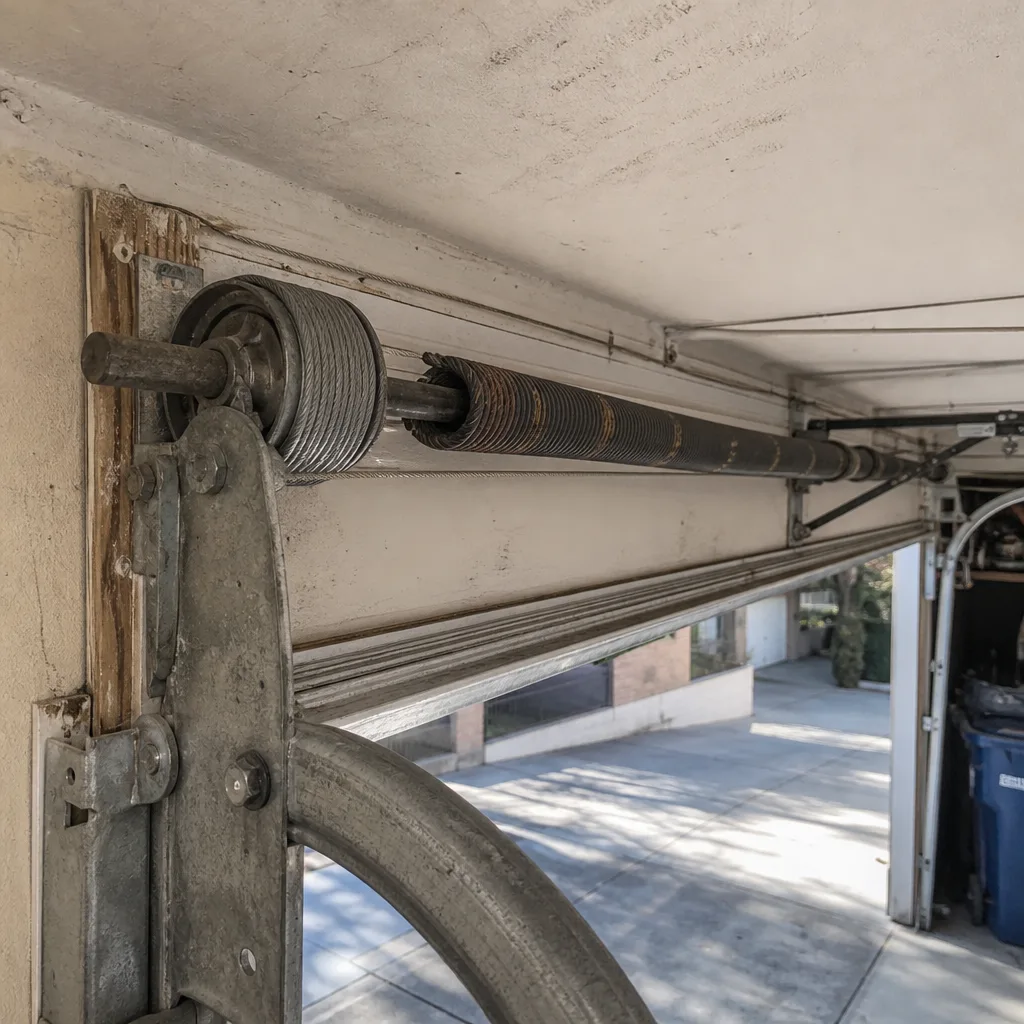 Before
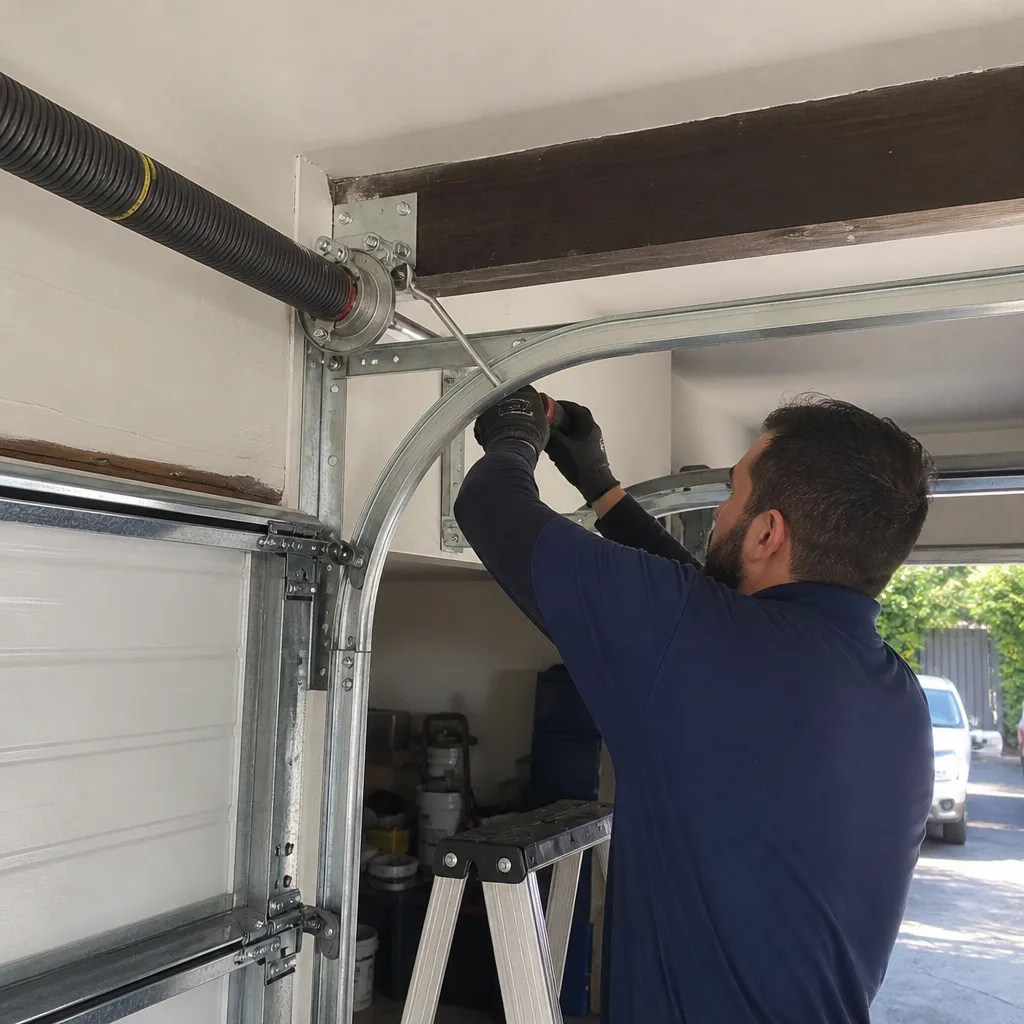 After
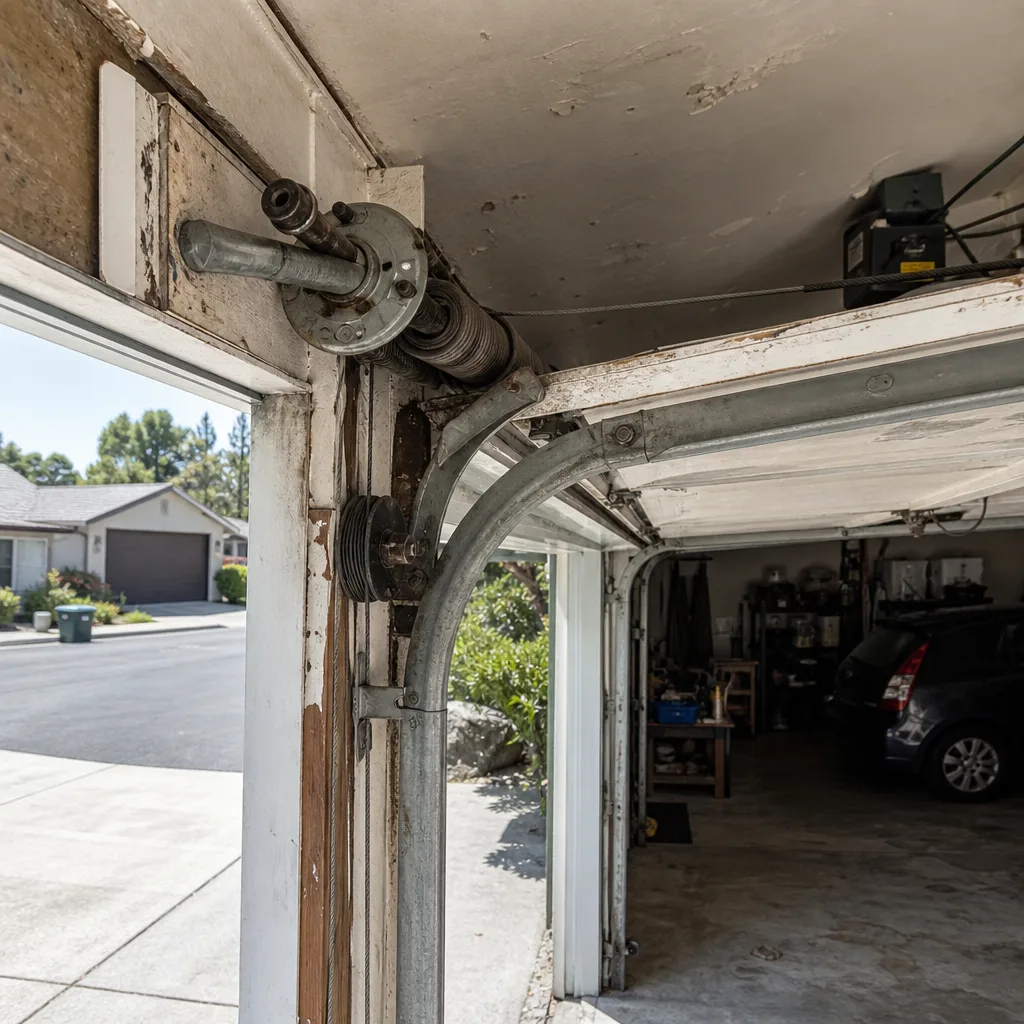 Before
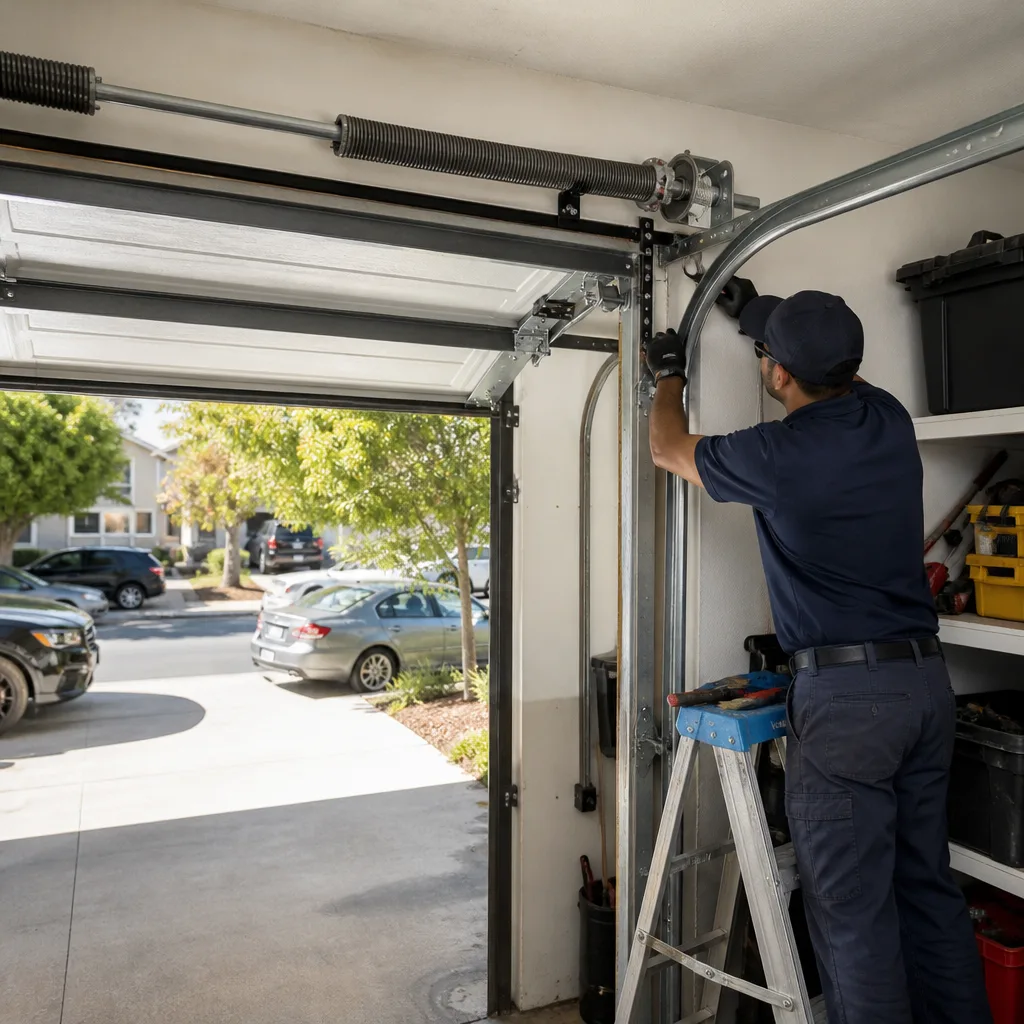 After
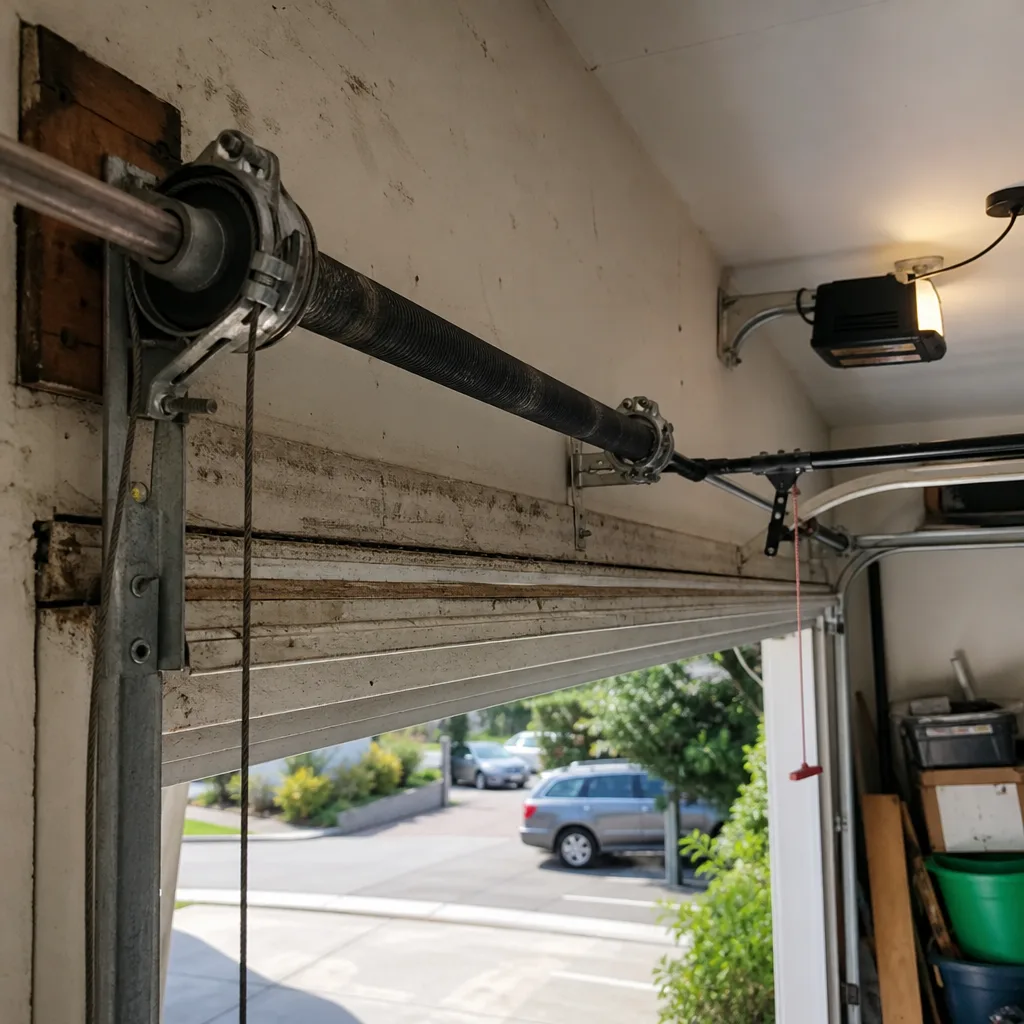 Before
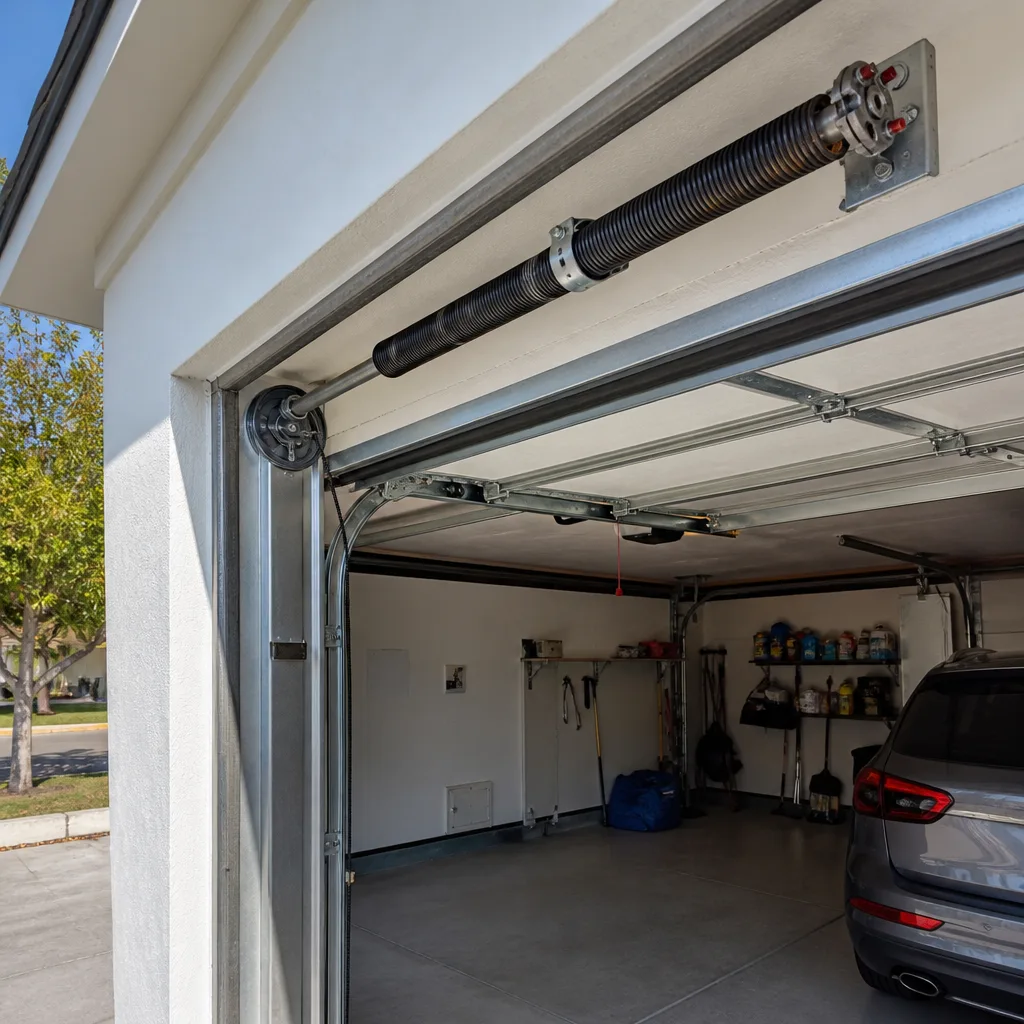 After